Last month I did a post on one of my favourite little shops, Penny Pieces, in Ponteland (read it here). In it I mentioned that Sylvia & Deborah had invited me to take part in a Beginners Chalk Paint Workshop, using Autentico Chalk Paints, to say thank you for featuring PP on my blog.
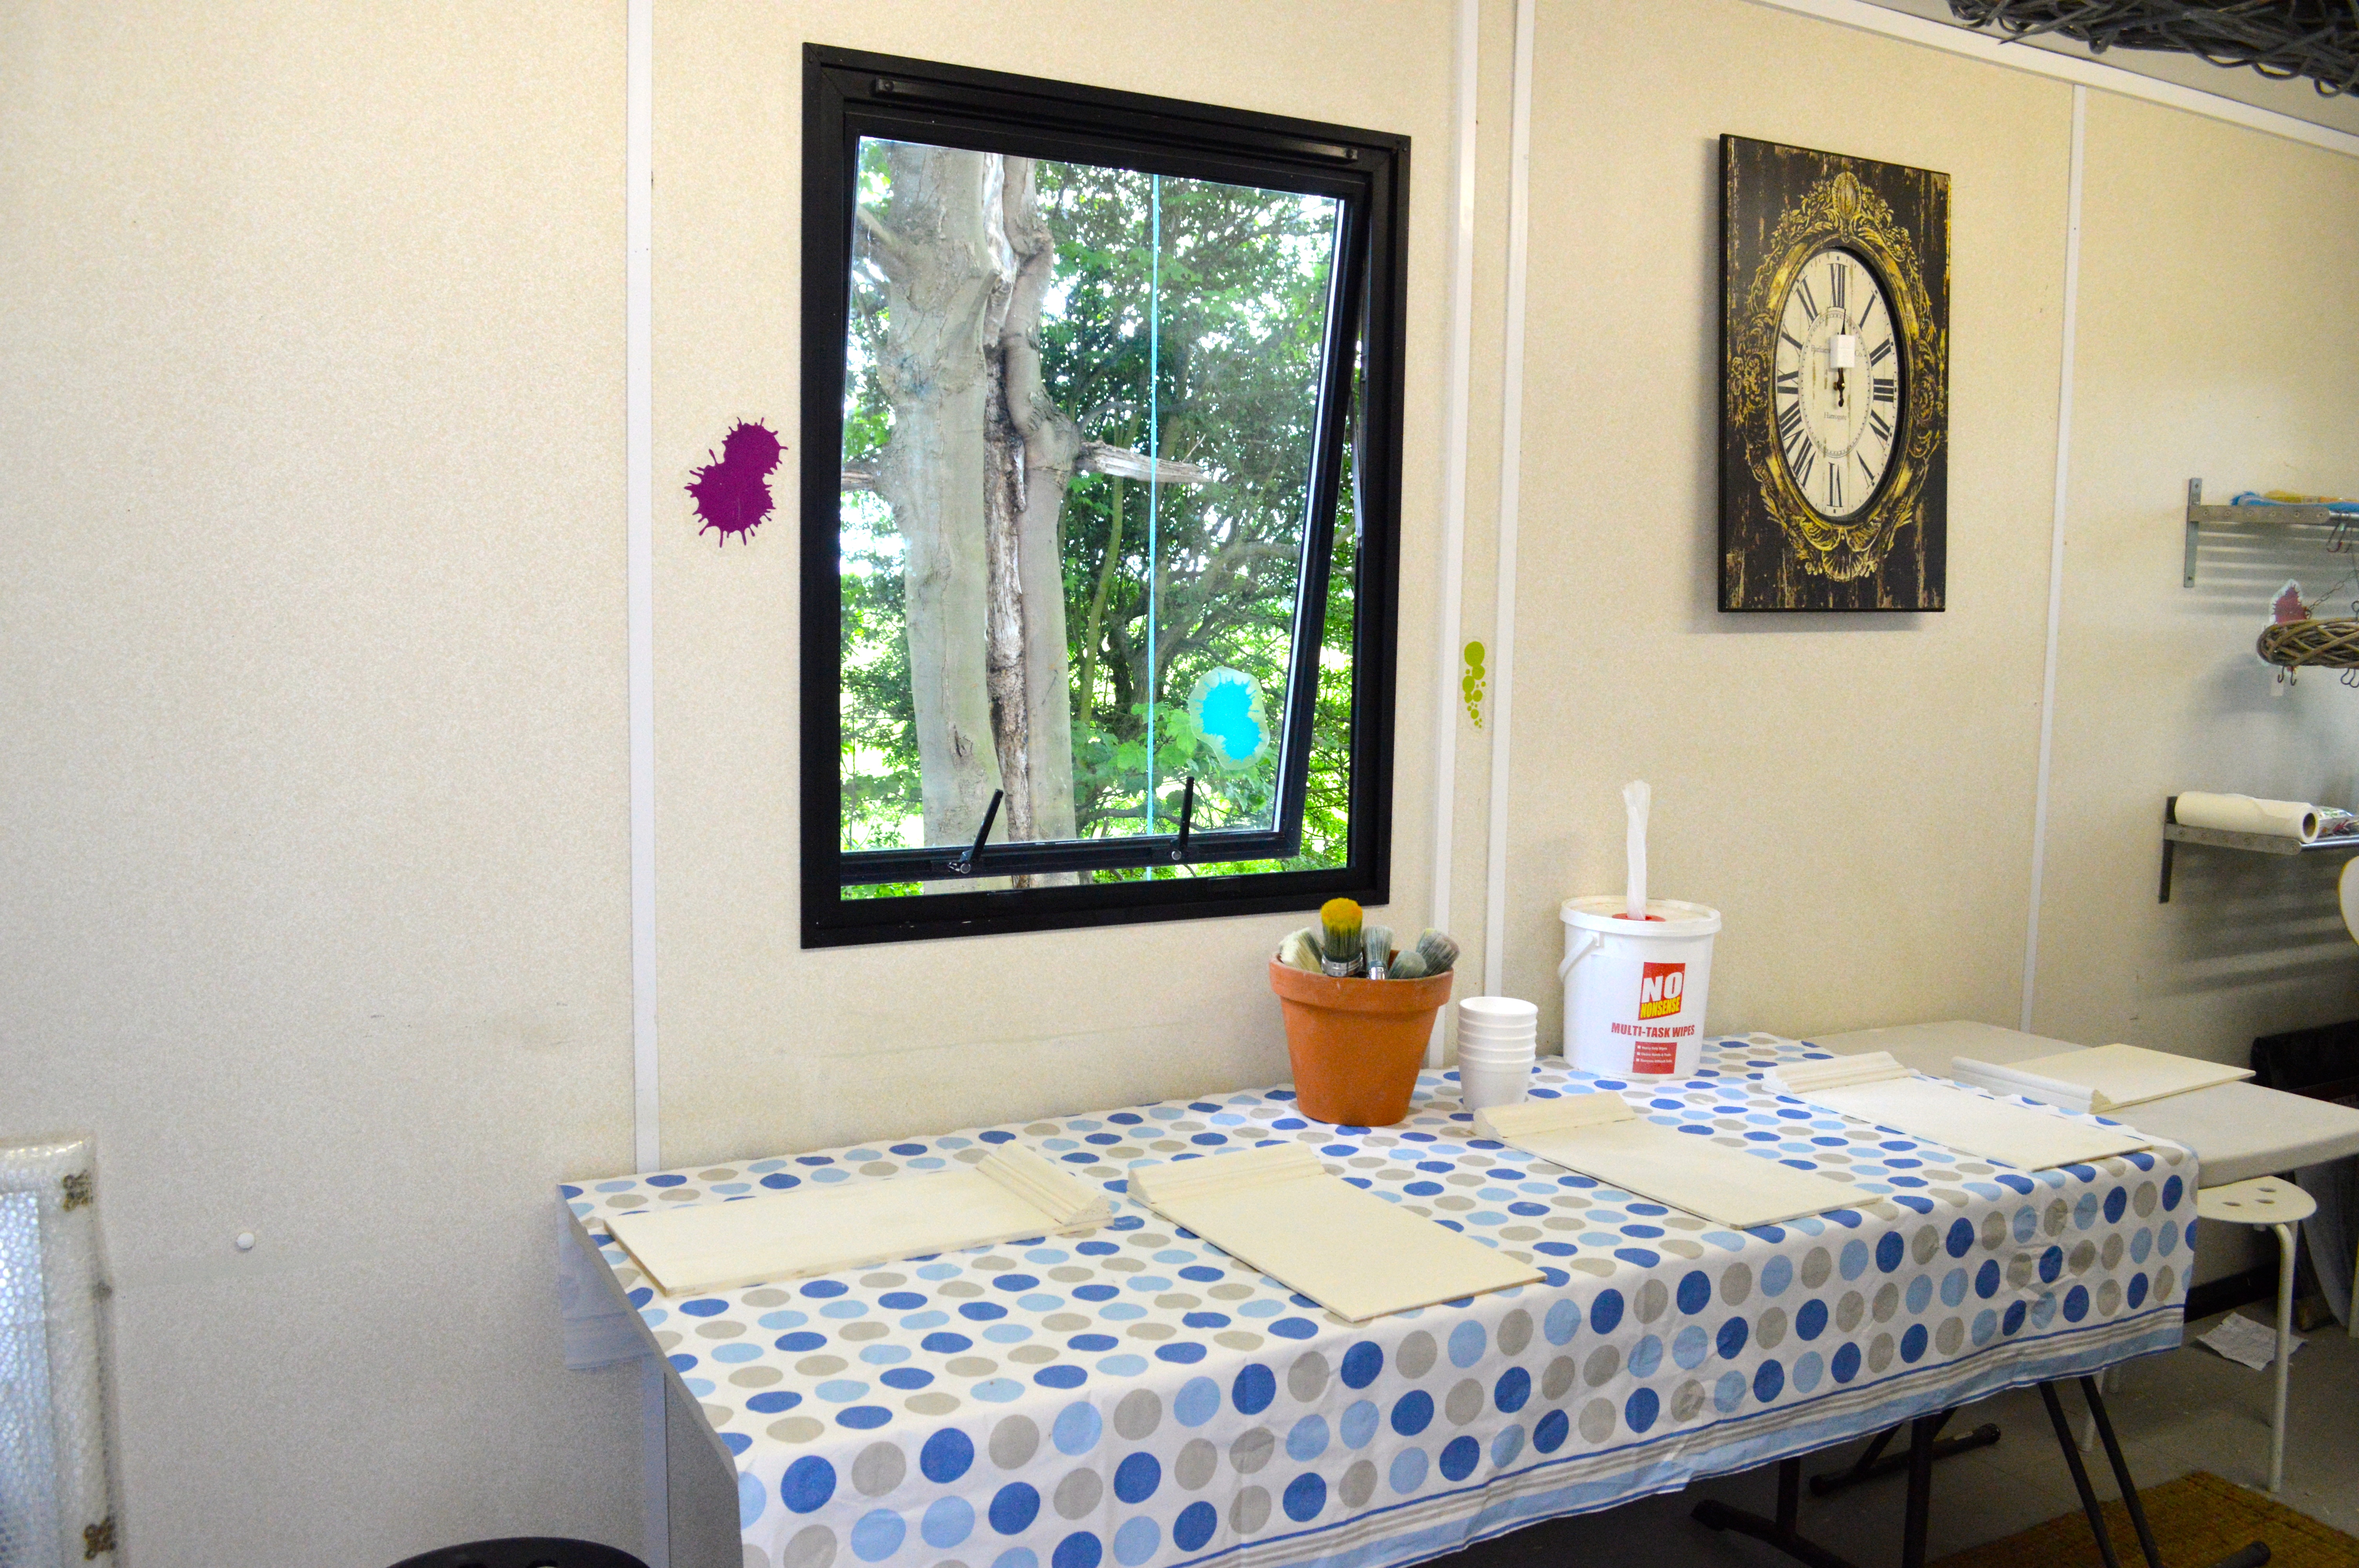
The class was yesterday afternoon, the time flew by – as it tends to when there’s fun being had – and it was clear that everyone was learning a lot. We were encouraged to make notes, paper and pens were provided – Sylvia and Debs had all bases covered!


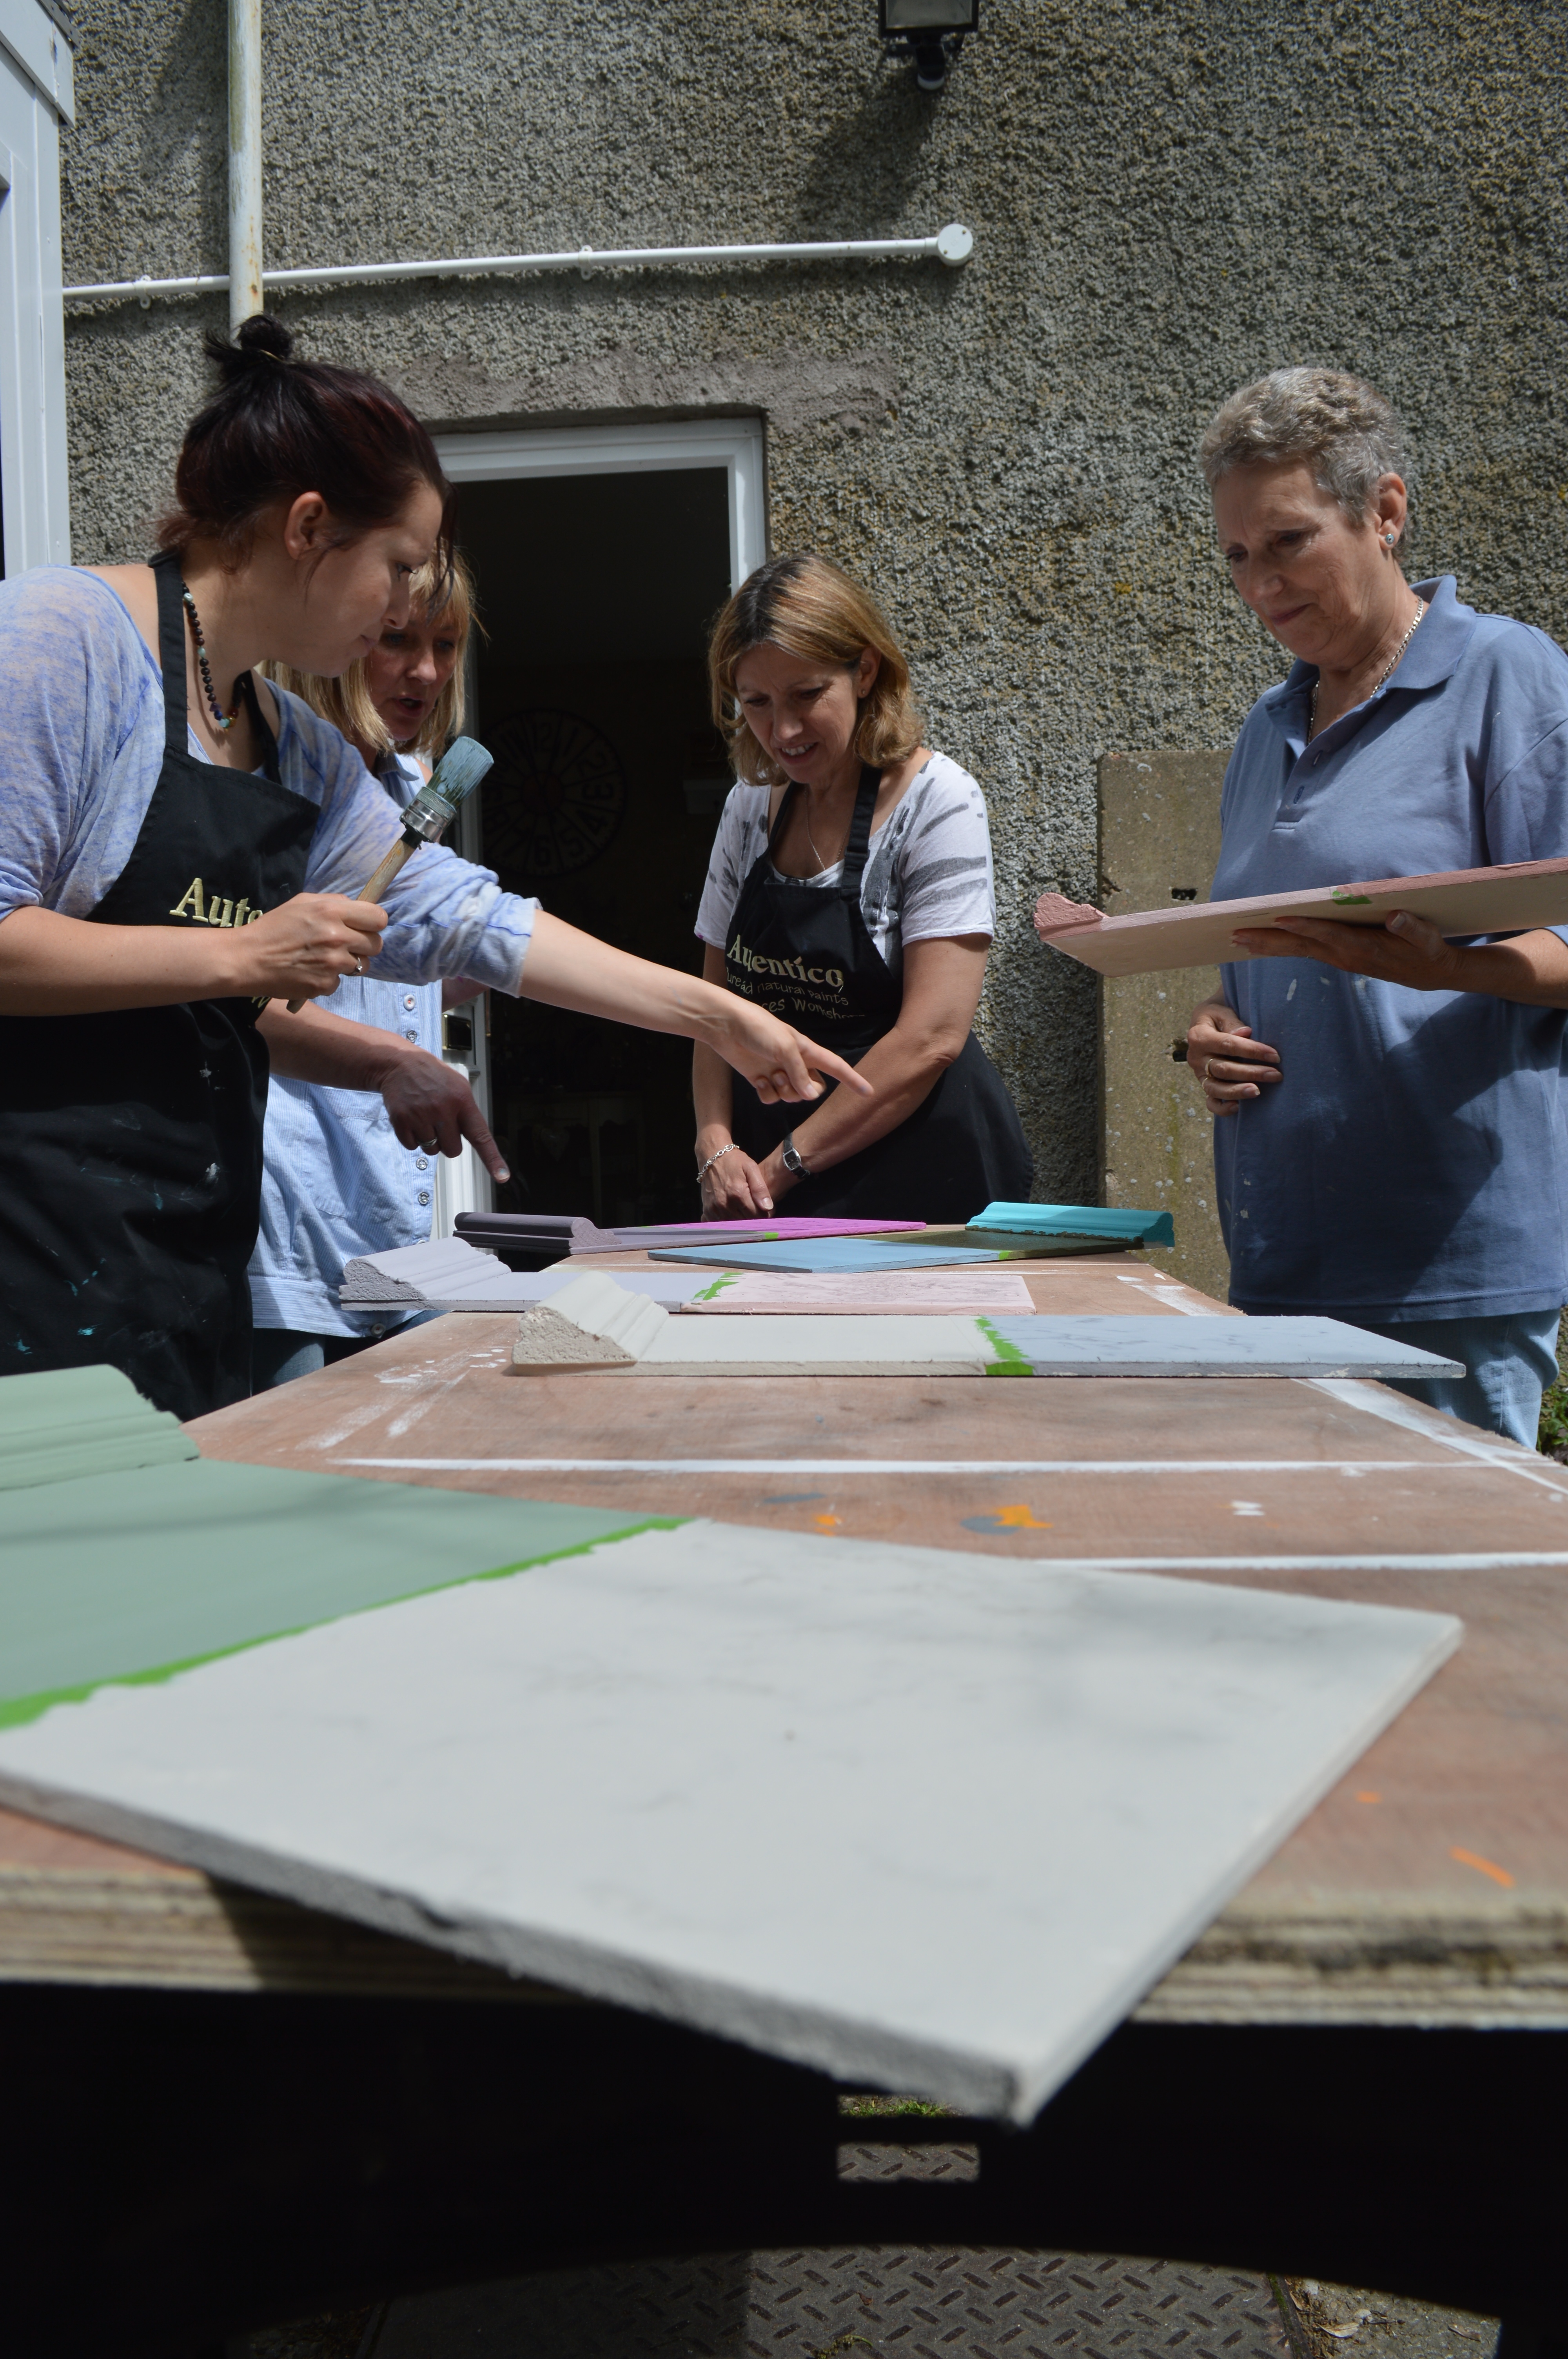
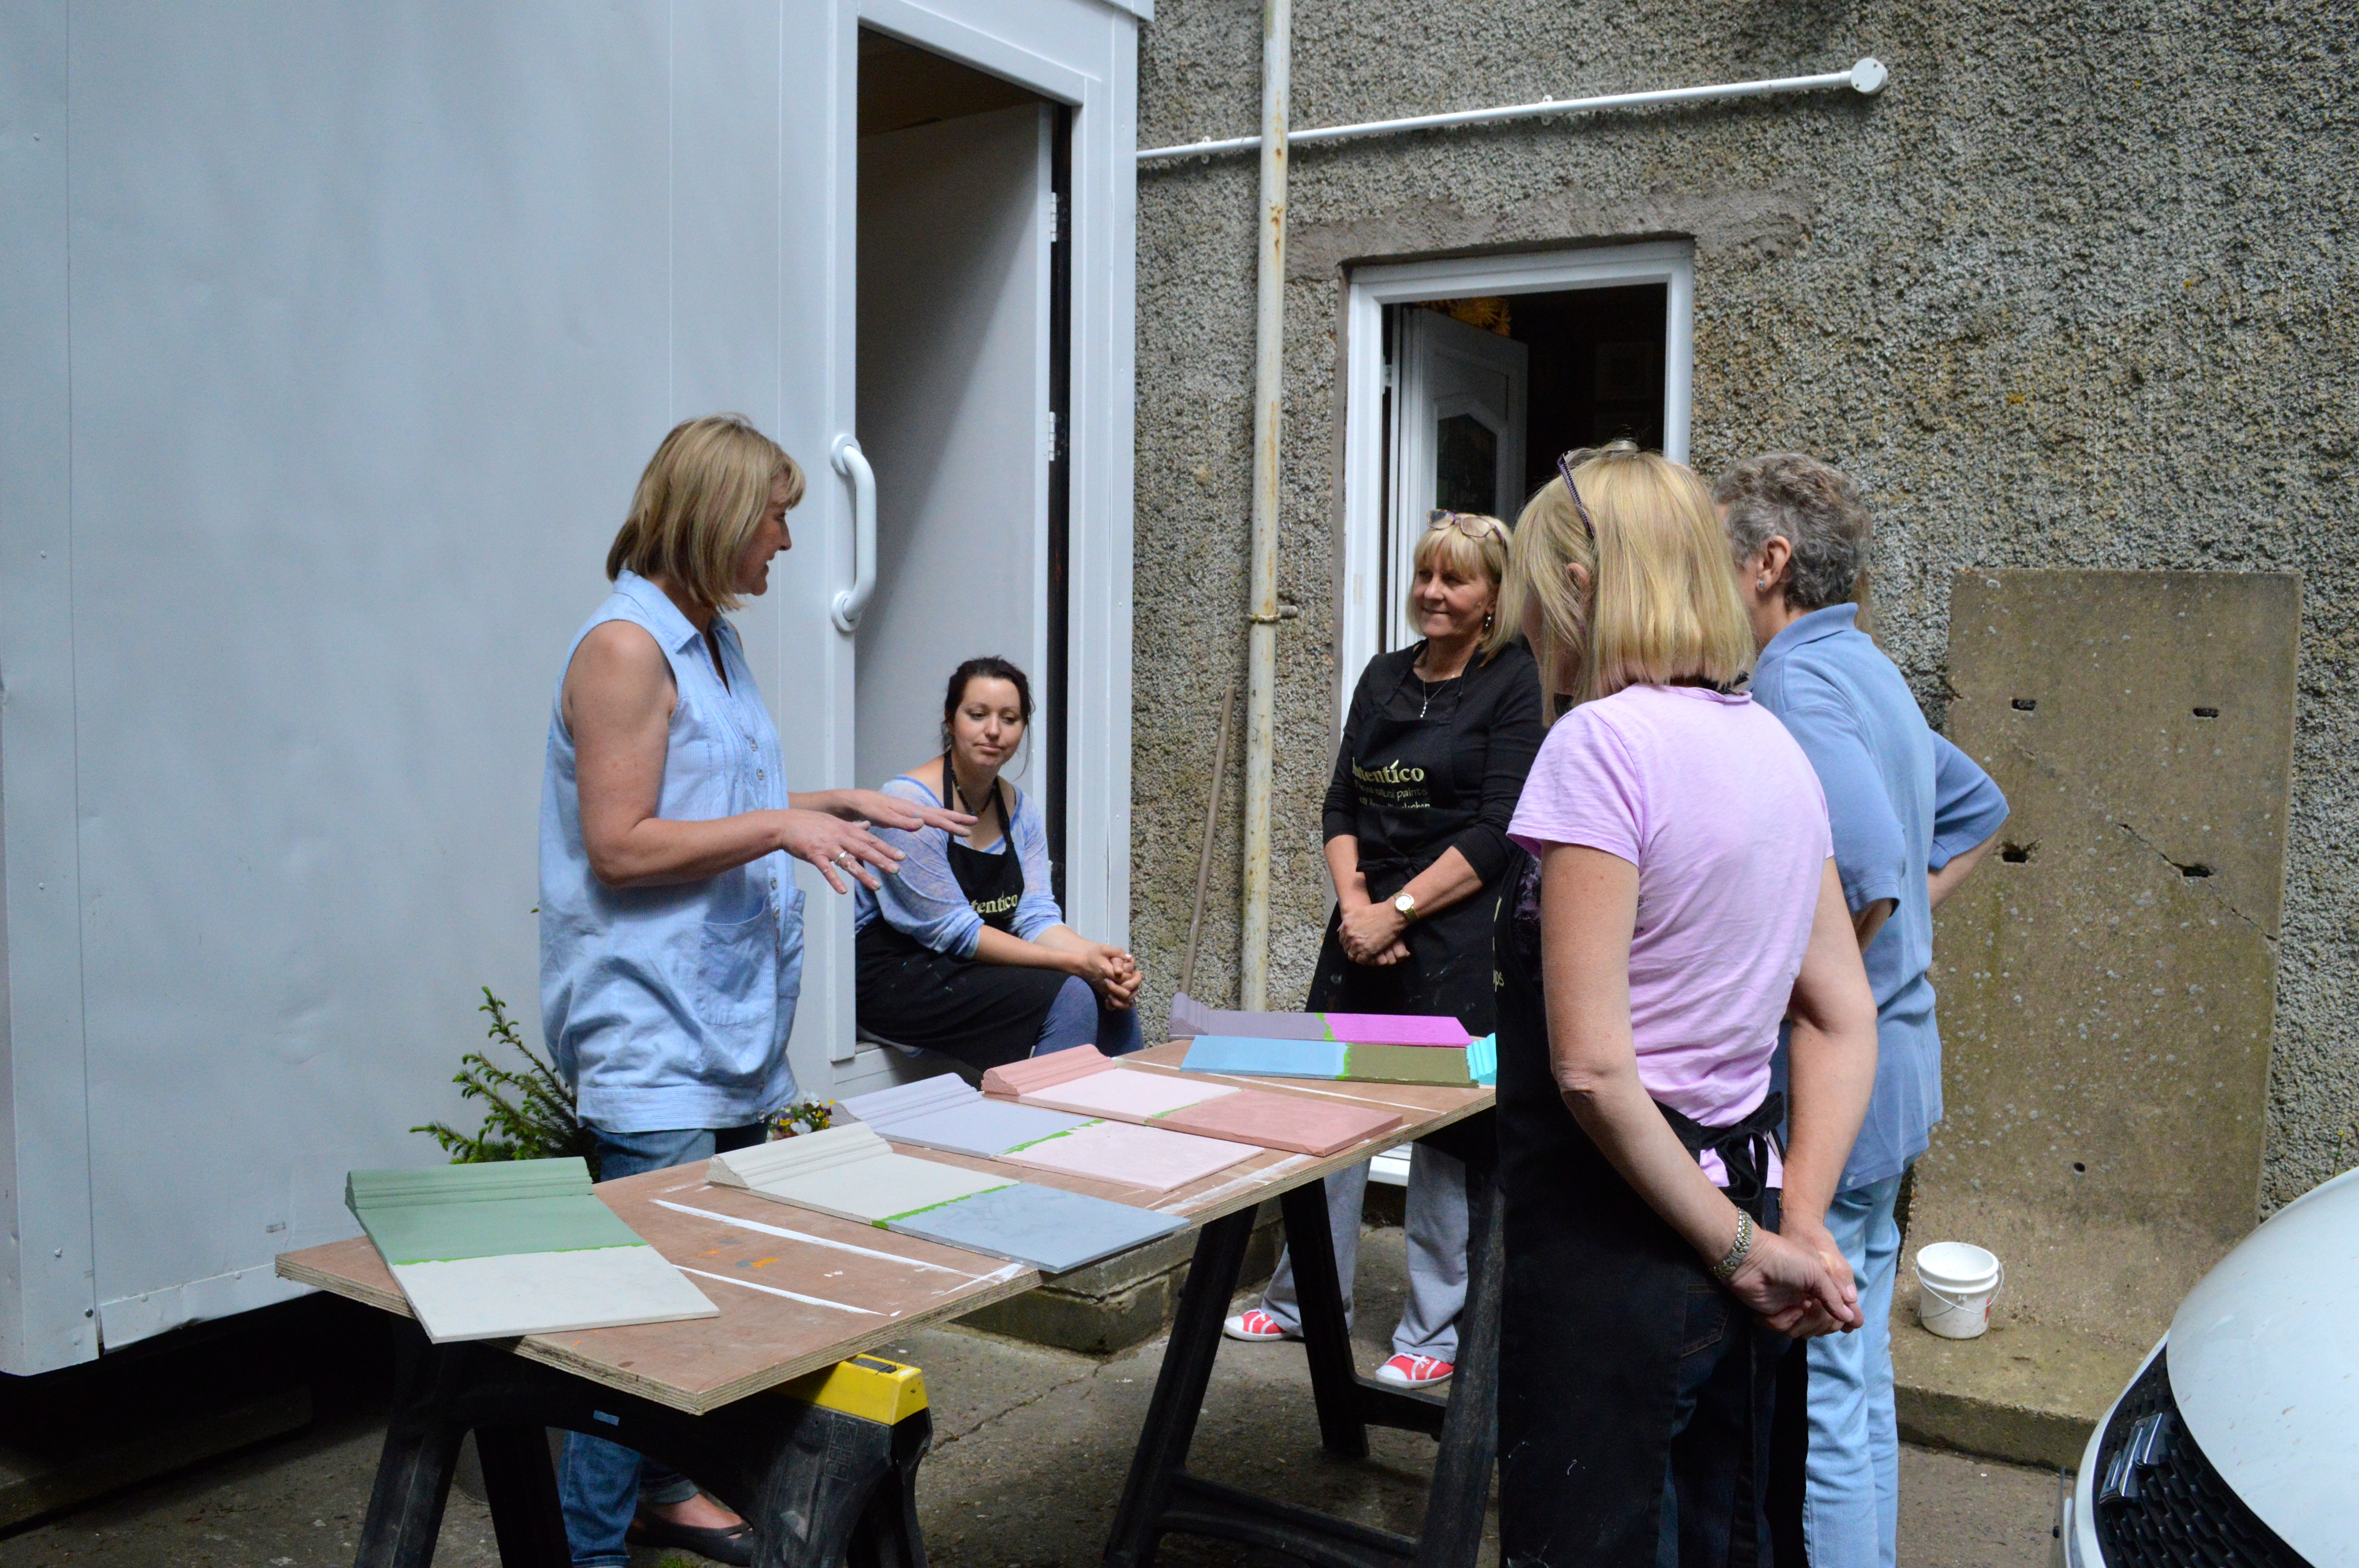
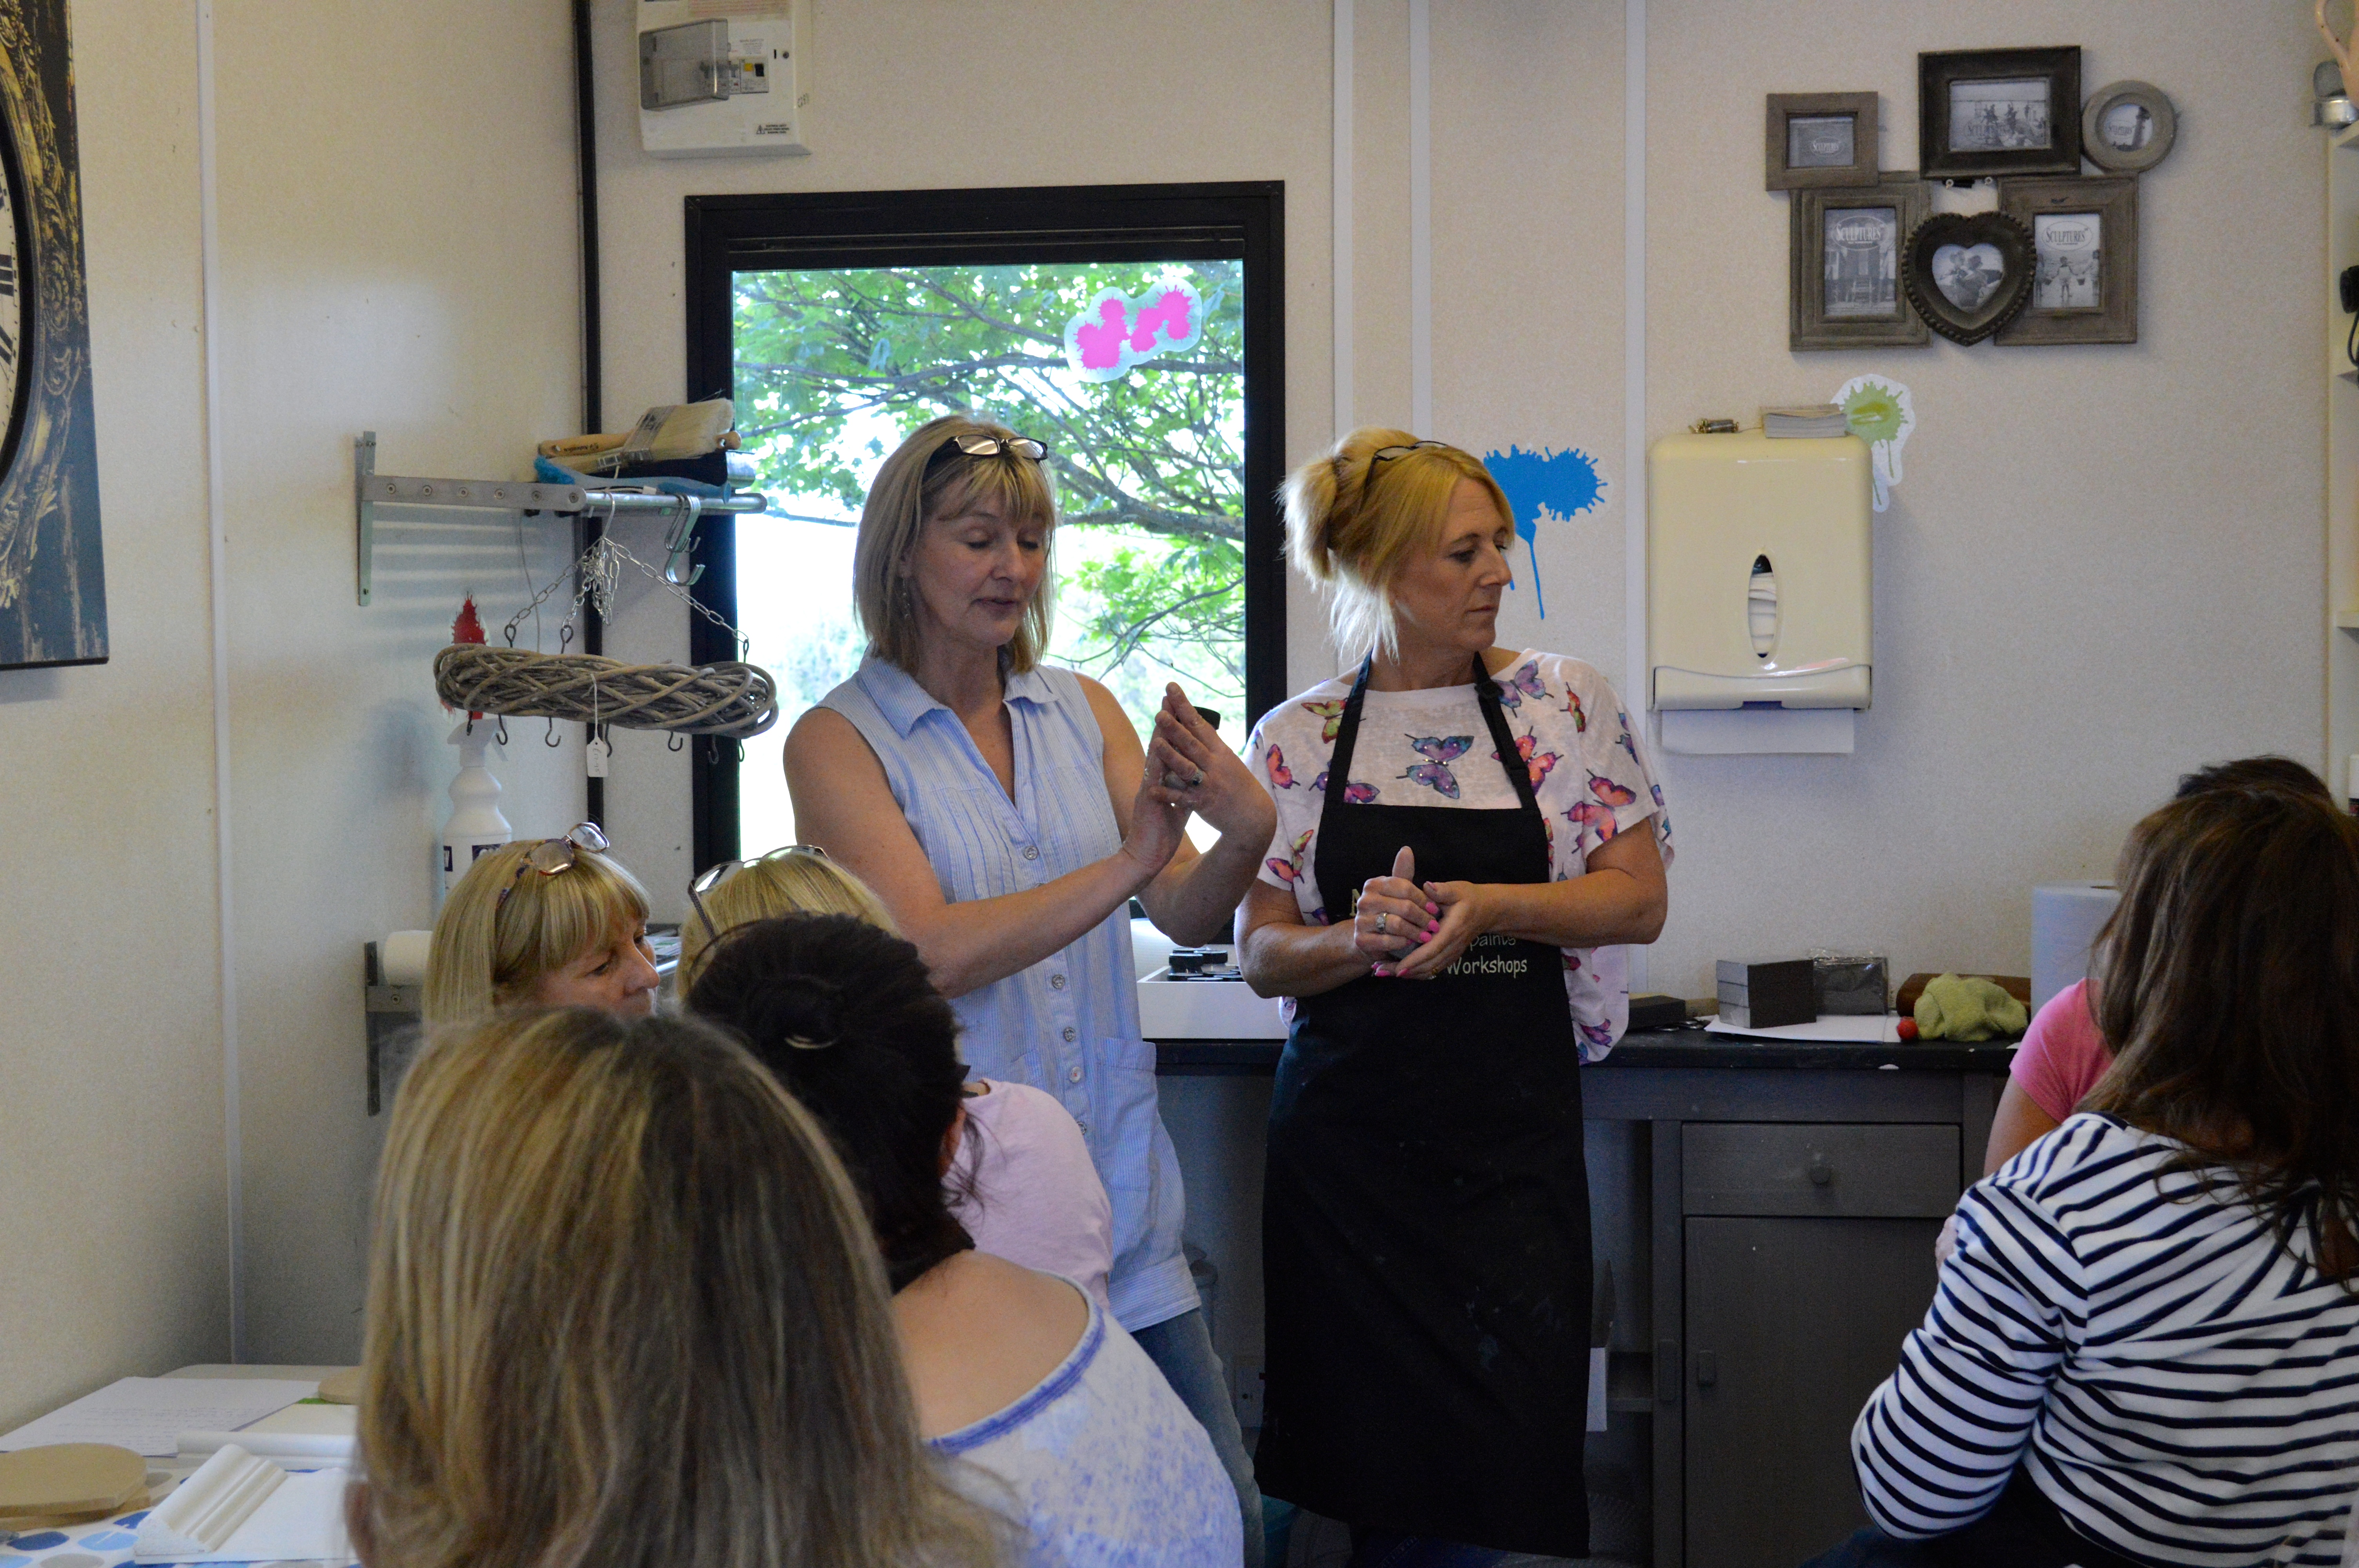
It was a full house in the workshop with 10 of us being taught by Sylvia and Deborah, each of them taking turns to take us through the various techniques we’d be using. We were each given a white washed board, a wooden cut-out heart and asked to pick 3-4 paint shades to use for our masterpieces.
I picked Antique Rose, Violet Grey and Antique Turquoise (I then also used Chalk Grey, Soft Mauve and Purple Rain…) With over 130 shades to choose from, we were spoilt for choice – which explains why I wanted to use all the shades listed above!
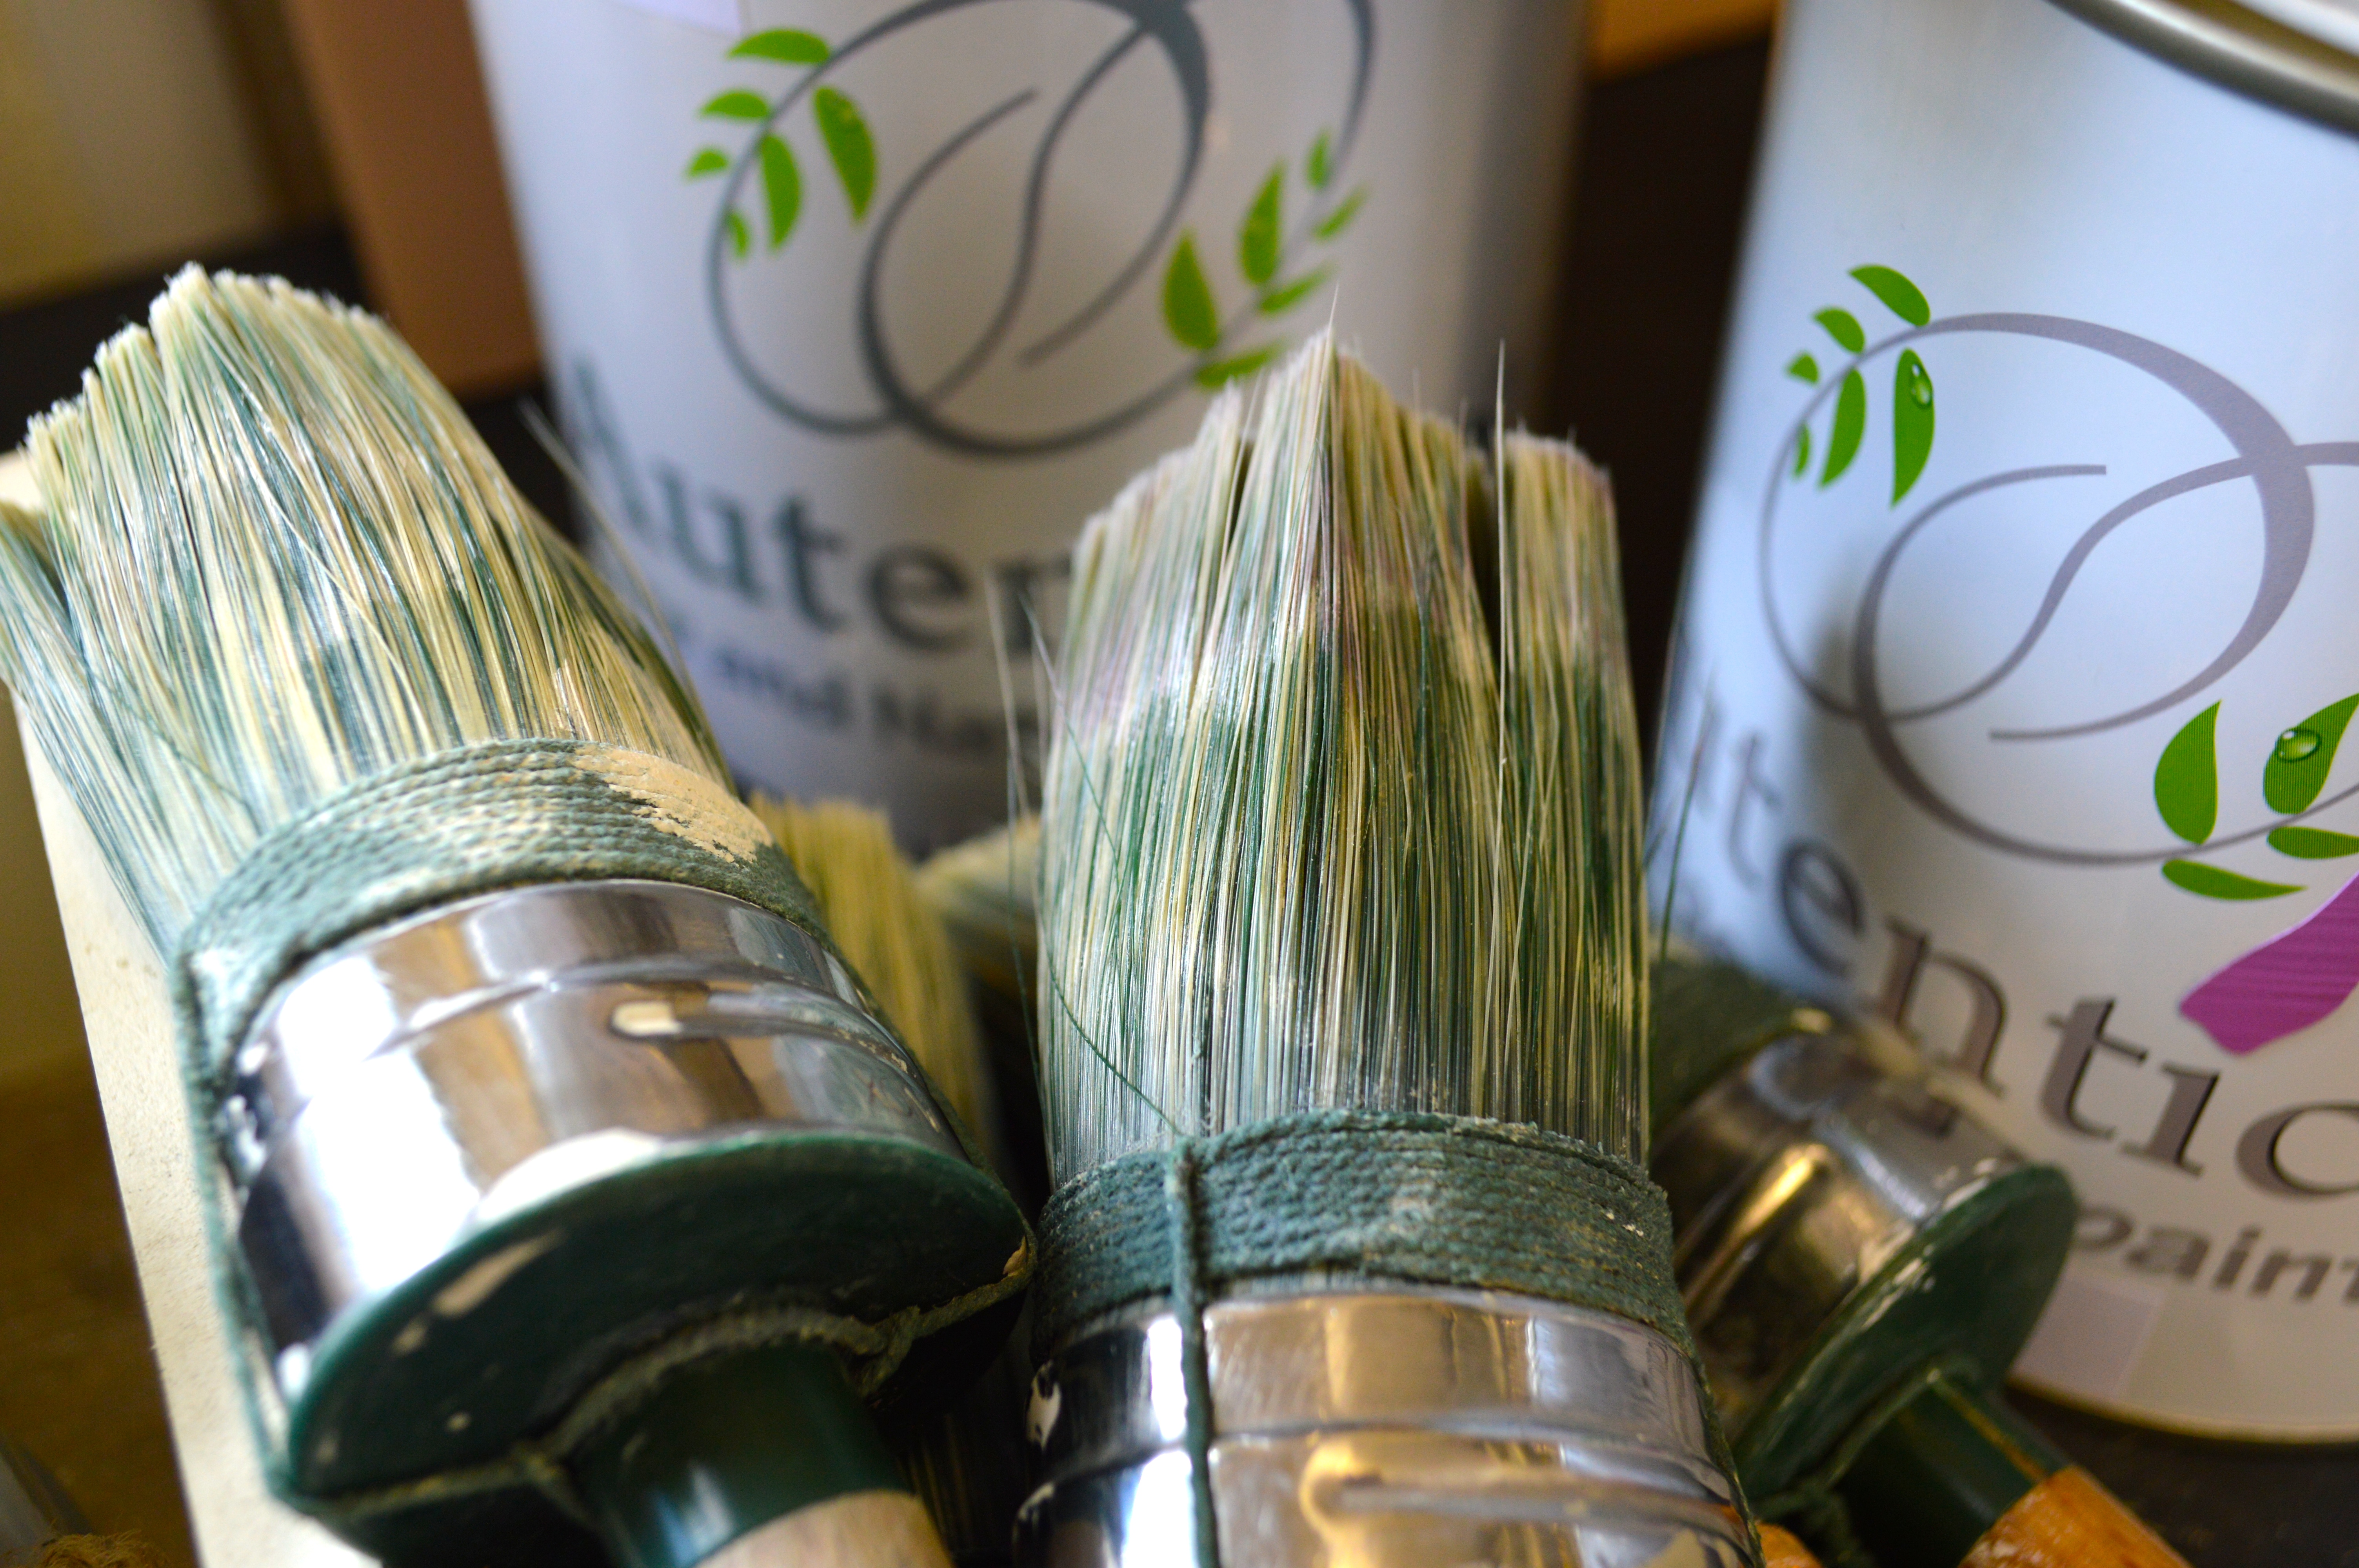
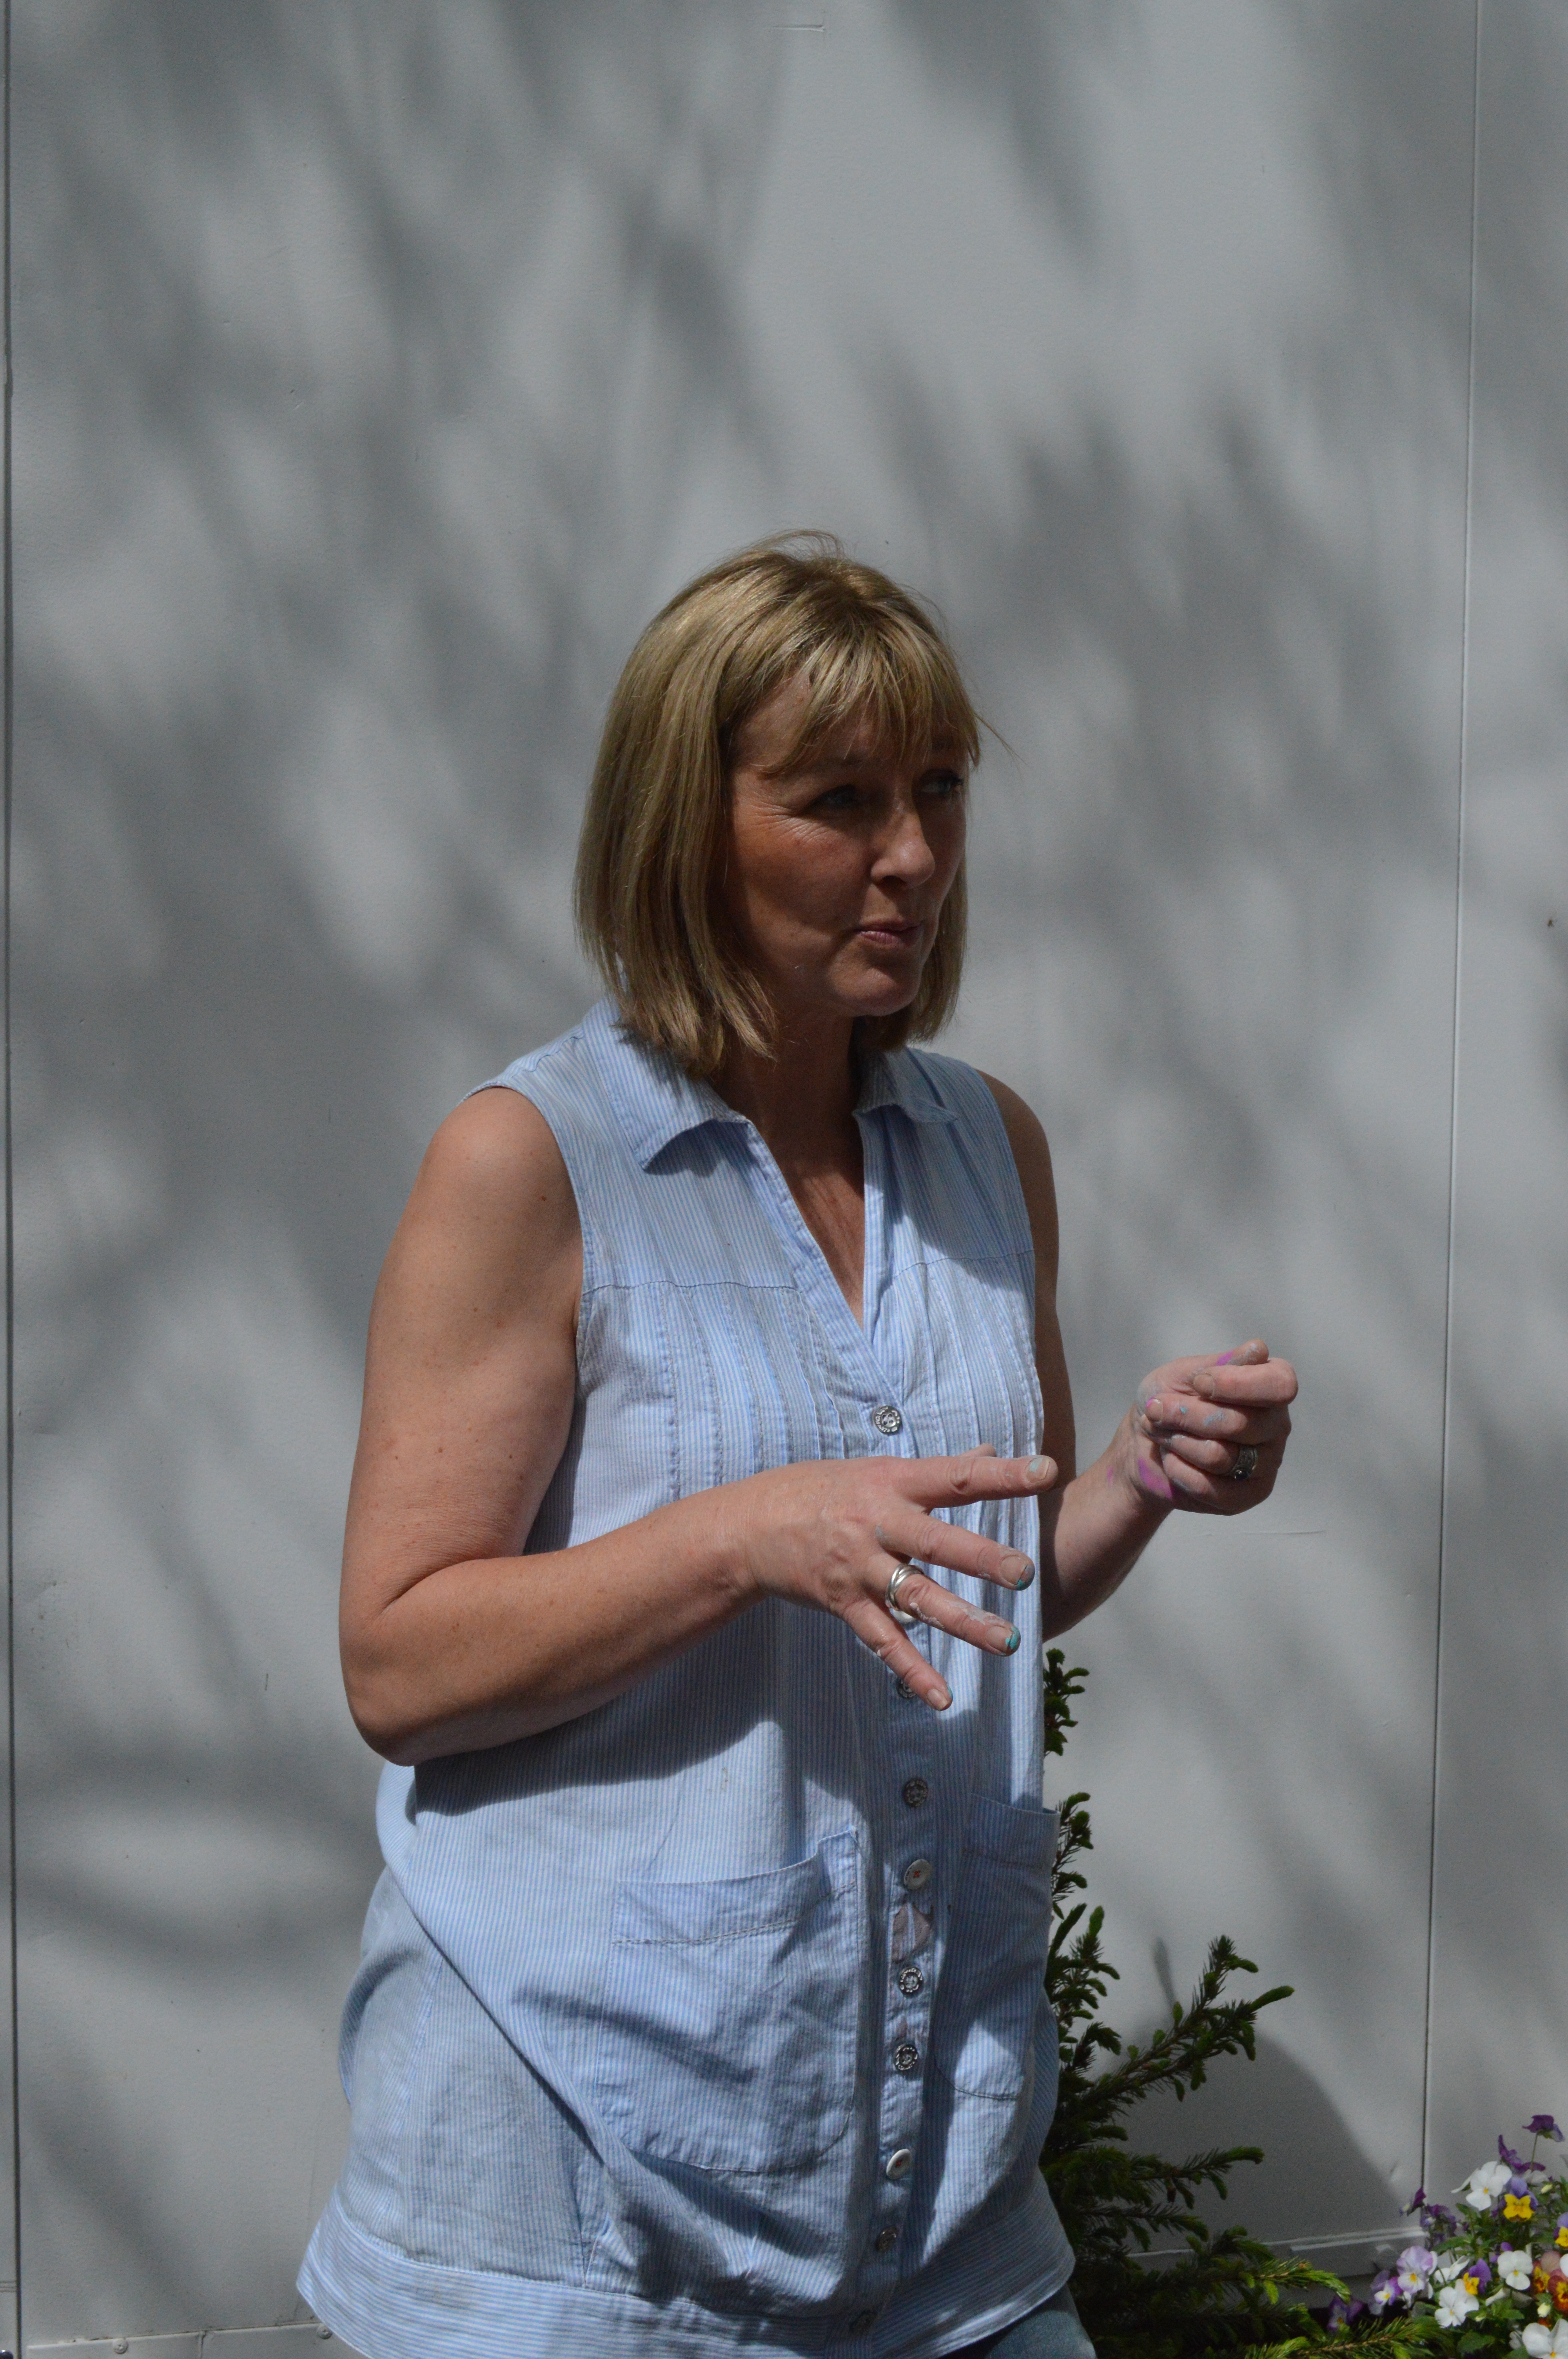
The paints are all mixed by hand at Autentico HQ in Kent (I find this amazing – especially given the huge variety in shades) and Deborah and Sylvia went on a 2 day course to learn all about the collection ahead of stocking it in Penny Pieces. Their in-depth knowledge meant they could answer any question asked, but they also gave their personal opinions as they both talked so knowledgeably about the paints, and the techniques.
As we were painting our boards, Sylvia and Debs came round the class, giving us tips and helping with our technique, checking we were all getting on okay. I needed a lot of assistance, ha ha. I’m a beginner! I’ve never painted anything in my life. My high school art teacher will testify to this. . . I can’t even remember her name.
We painted one half of the board with nice even strokes, the second half in a more abstract way to create swirls, lumps and bumps to give a texturised finish, and then came my favourite part… painting the heart and then adding the crackle glaze (and painting over it to create the crackles) Once your crackles were done (hairdryers were brought in to speed up drying time), it was time to distress the top of the board using a sanding brick. Once we were happy with the finish we’d achieved we were given more options! We had to choose which wax we’d use to go over the top – who knew you could get coloured waxes? I certainly didn’t! Sylvia and Debs demonstrated how adding a coloured wax could totally alter the paint shade. Loved this surprise, so to mute the Antique Rose, I added a grey wax to my board (not to the heart though). The final step was gluing our hearts down and adding our straw bows.


In between our boards drying, there was even time for cake, tea and a bit of a natter. Perfect Sunday afternoon activities. I did give out my blog address to the class, so if anyone from the class is reading, it was lovely to meet you! It was really interesting to see which shades everyone went for, no two boards were the same.


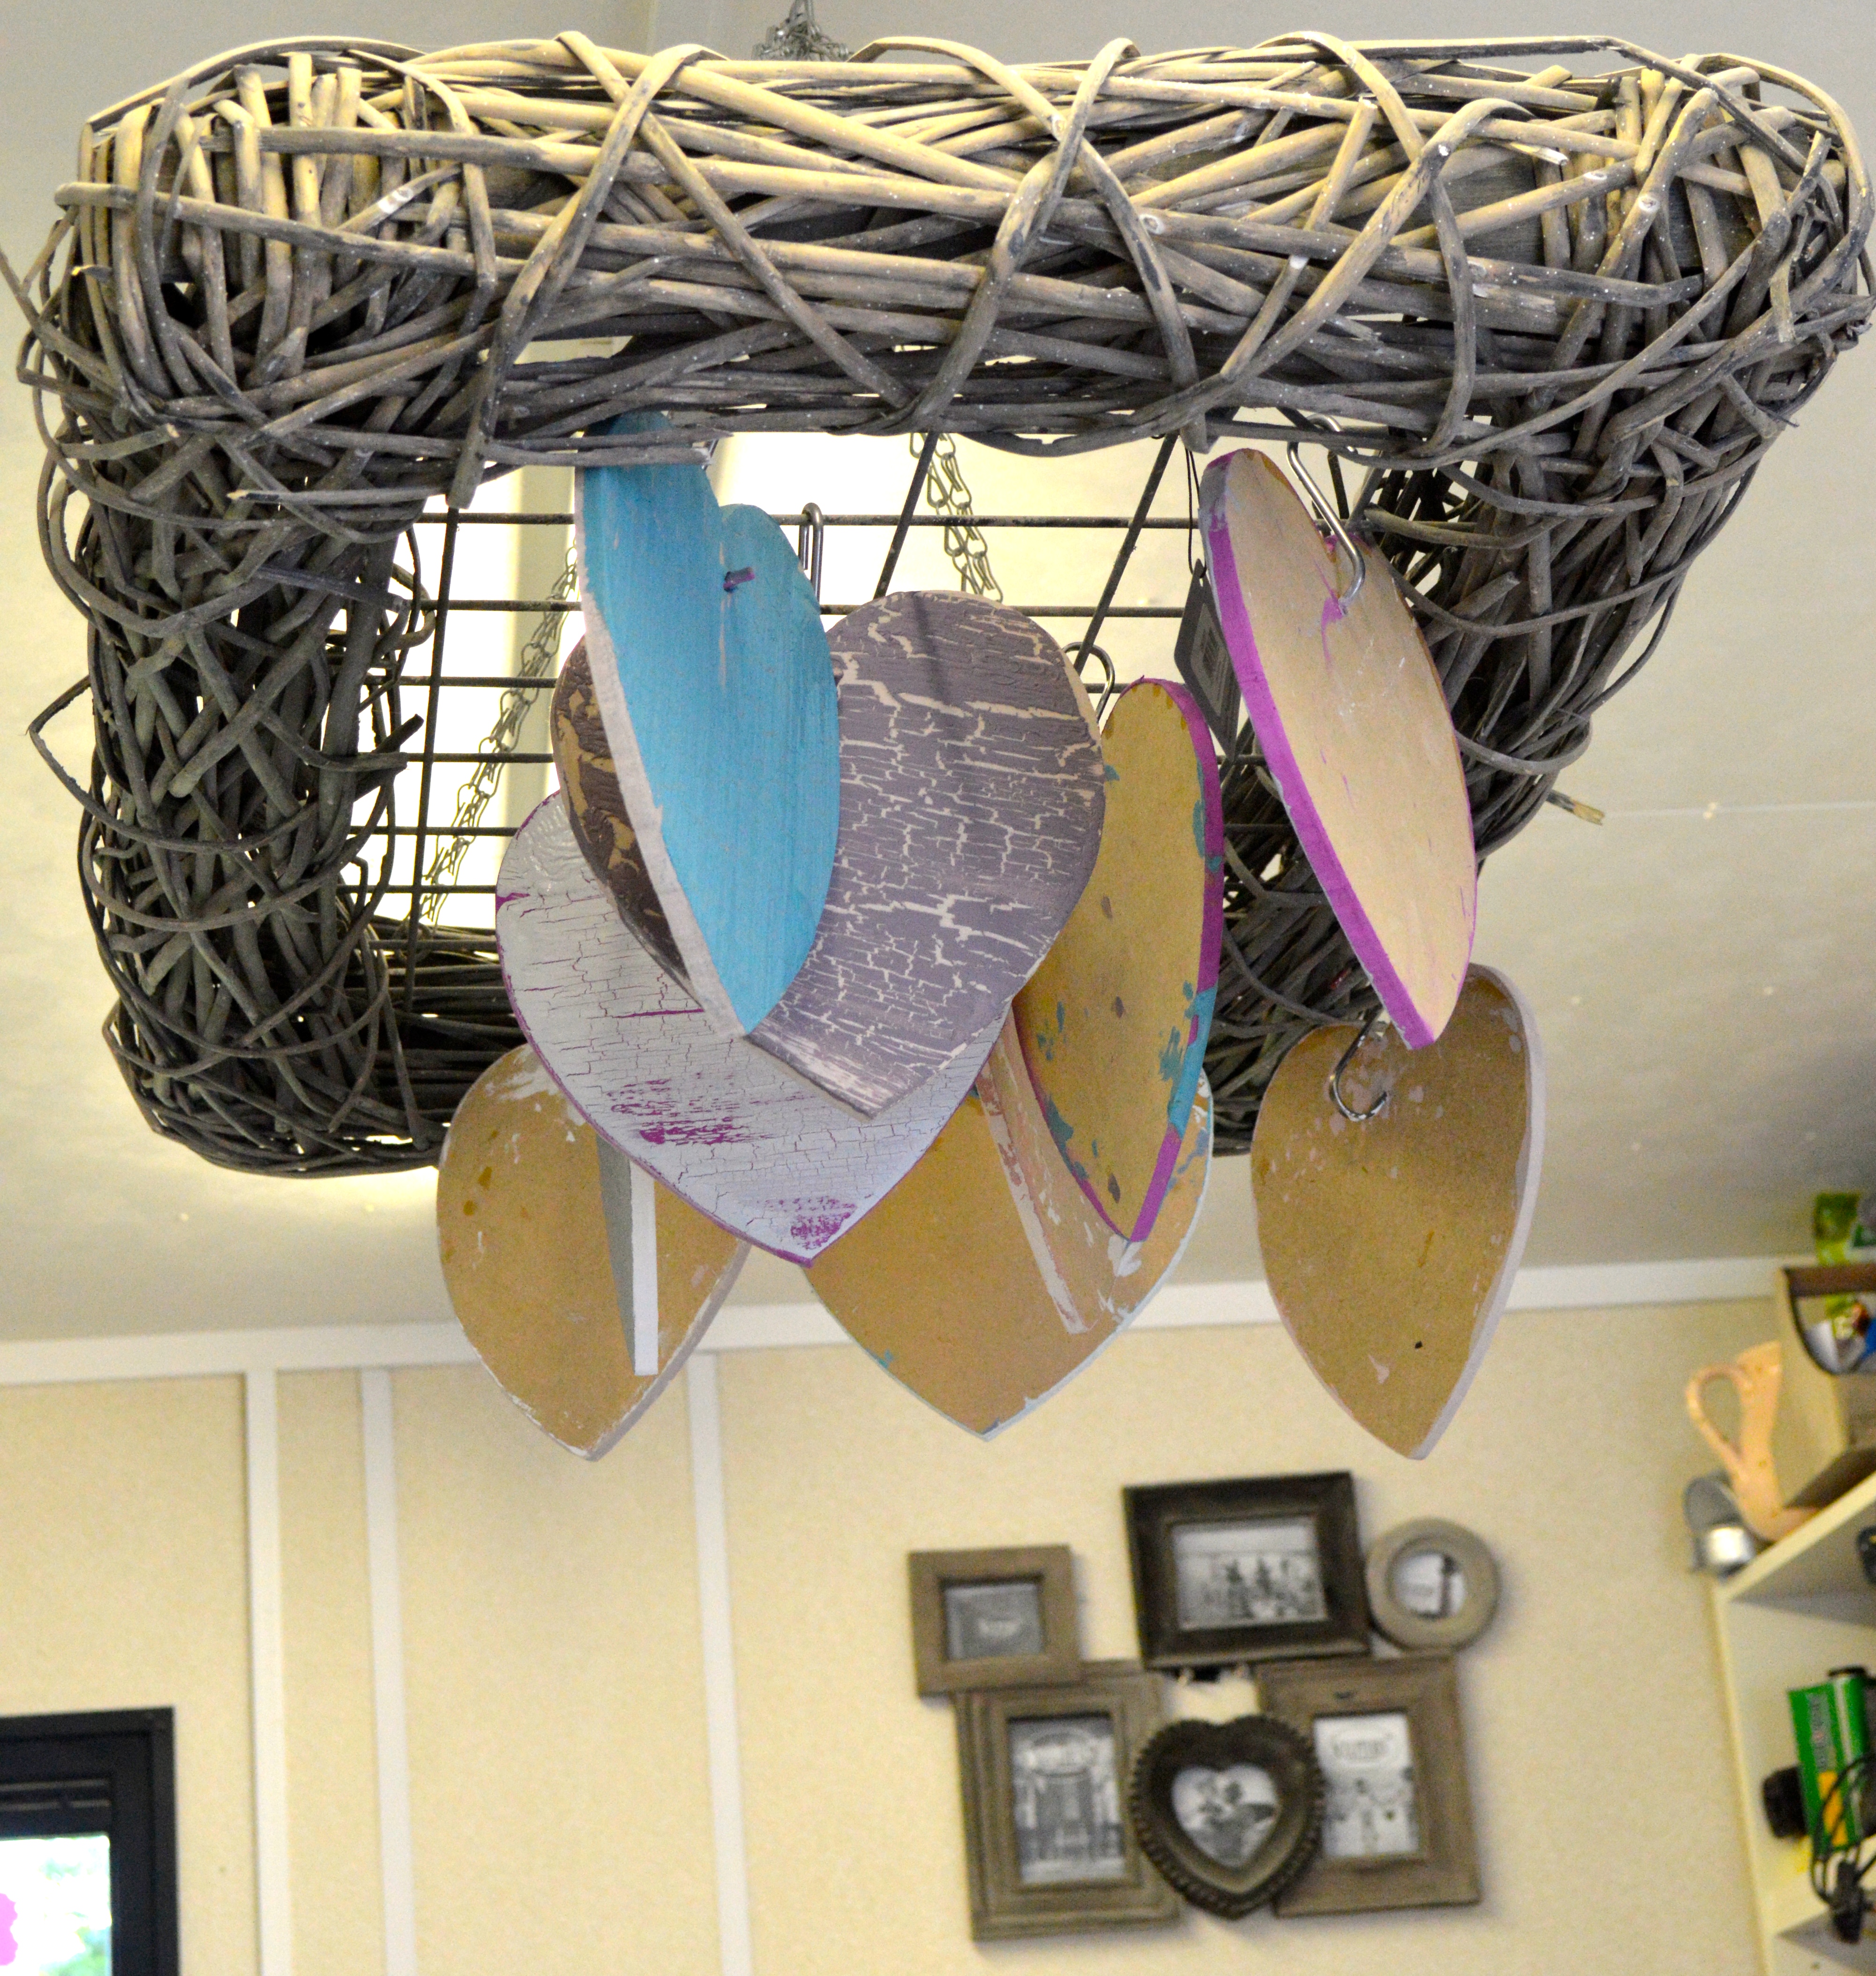


Bows and hearts are two of my favourite things ever and it’s safe to say that I’m proud as punch of the pretty board I took away with me. The class was also given a super pretty heart keyring each and told that if they were ever stuck while painting furniture at home, they were welcome to give the shop a call to ask for advice. I would never have considered painting furniture at home, I had no clue where to start, but now it’s definitely something I plan on doing (especially as I know that Sylvia and Debs really mean it about giving advice if needed!)
Check out Penny Pieces Facebook Page for info on future workshops (there are Beginner and Intermediate) or give the shop a call on 01661 824424 to find out more – they get booked up pretty quickly! Or if you’re already a painting pro, pop in to see the shades on offer and get stuck in!
I’d love to hear of any home improvement projects you’ve started/finished/planned – tell me all about it in the comments!
